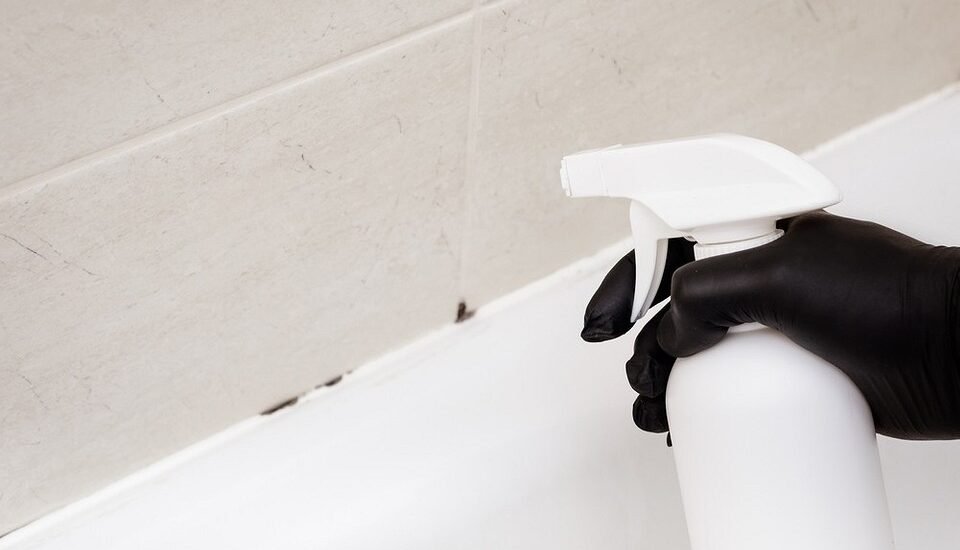
Why Black Mould on Silicone Sealant Is a Big Problem
Finding black mould on silicone sealant around your bath, shower, or kitchen sink is not just unpleasant—it’s a serious health hazard. Black mould can cause allergies, respiratory problems, and unpleasant odours. It thrives in damp, poorly ventilated areas, especially on silicone joints where moisture tends to sit.
If you’re struggling with ongoing mould problems in your rented home, it could be due to poor maintenance. You may be eligible to start a housing disrepair claim if your landlord fails to fix the issue.
But first, let’s explore how to remove black mould from silicone sealant effectively, prevent it from returning, and know when it’s time to seek professional help.
What Causes Black Mould on Silicone Sealant?
Mould needs three things to grow: moisture, warmth, and a food source. Silicone sealants, especially in bathrooms and kitchens, are exposed to constant dampness, making them the perfect breeding ground for black mould.
Common causes include:
-
Poor ventilation in bathrooms or kitchens
-
Persistent water leaks around baths, showers, or sinks
-
Worn or cracked silicone allowing moisture to seep behind
-
Lack of regular cleaning and maintenance
If black mould keeps returning even after cleaning, it may point to bigger problems like leaks or inadequate ventilation that your landlord must address.
How to Remove Black Mould from Silicone Sealant: Step-by-Step
Step 1: Prepare the Area and Protect Yourself
Before starting, protect yourself by wearing rubber gloves, a mask, and old clothing. Open windows for ventilation and cover nearby surfaces to protect them from cleaning agents.
Step 2: Choose the Right Mould Removal Solution
You can remove mould from silicone sealant using different cleaning agents:
-
White vinegar: Natural and effective for light mould patches.
-
Hydrogen peroxide (3%): Strong mould killer, safer than bleach.
-
Specialist mould removal sprays: Available at most supermarkets or DIY stores.
-
Bleach solution: Powerful for tough black mould, but should be used with caution.
Tip: Always test the solution on a small area first to avoid damage.
Step 3: Apply the Cleaning Solution
-
Apply your chosen cleaning product generously over the affected silicone sealant.
-
Let it sit for at least 15–30 minutes. This gives the solution time to break down the mould.
For stubborn mould on bathroom sealant, you can soak cotton wool strips in bleach and lay them along the affected areas for better contact.
Step 4: Scrub the Silicone Gently
After soaking, use a soft-bristled brush (like an old toothbrush) to gently scrub the silicone. Avoid using anything too abrasive that could damage the sealant.
If the mould persists after one cleaning, repeat the process.
Step 5: Rinse and Dry Thoroughly
Once cleaned, rinse the area with clean water and wipe it dry using a clean cloth. It’s crucial to remove all moisture to prevent mould spores from returning.
Can You Always Remove Mould from Silicone?
In some cases, mould becomes deeply embedded into the silicone sealant. If cleaning doesn’t work:
-
You may need to cut away and replace the damaged silicone.
-
Re-seal the area using anti-mould bathroom silicone products.
If you are facing repeated problems due to leaks or poor property maintenance, it’s important to know your rights. Learn more about your rights regarding damp and mould claims.
How to Prevent Black Mould Returning on Silicone Sealant
Prevention is key. Once you’ve removed black mould from silicone, follow these tips to stop it coming back:
-
Wipe down bath and shower areas after use
-
Keep bathrooms and kitchens well ventilated (use extractor fans)
-
Repair leaks quickly
-
Install a dehumidifier in high-humidity areas
-
Use mould-resistant silicone when resealing
If you spot early signs of mould reappearing, clean it immediately to avoid major problems later.
When Is Your Landlord Responsible for Mould?
If black mould on silicone sealant is caused by ongoing leaks, rising damp, poor ventilation, or building defects, it is your landlord’s duty to fix the problem under the Homes (Fitness for Human Habitation) Act 2018.
If your landlord ignores repair requests, you could be entitled to claim:
-
Property damage (like ruined fabrics, furniture)
-
Health issues caused by damp and mould
-
Compensation for distress and inconvenience
Thinking about making a claim? Start your housing disrepair claim today. We handle all claims on a no win, no fee basis.
Please Note: The solicitor we recommend will charge you a fee of 36% (inclusive of VAT) off your compensation. The solicitor may charge a termination fee if you cancel your agreement with them after the cancellation period, please read their Terms and conditions for more information.
Take Action Against Mould Today
Black mould on silicone sealant can be stubborn, but with the right cleaning techniques, you can remove it safely. However, if your home keeps suffering from damp, leaks, or mould due to your landlord’s neglect, you don’t have to live in these conditions.
At Housing Disrepair Team, we help tenants across the UK get repairs done and claim the compensation they deserve.
Ready to get started?
-
📩 Request a free consultation with our friendly team
-
📚 Read more about how to remove mould from walls
-
🏠 See if you qualify for a damp and mould claim today
Final Words
Removing black mould from silicone sealant is crucial for a healthier, safer living environment.
Don’t just clean it—solve the underlying issues.
And remember, if you’re renting and facing persistent mould, the law is on your side.


