
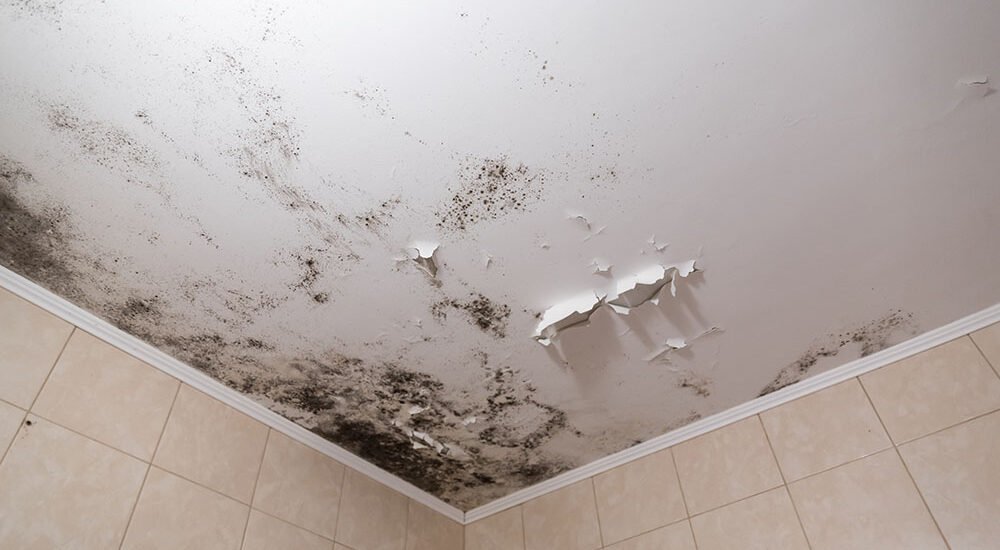
Why Mould on Ceilings Is a Red Flag
Mould on your ceiling isn’t just ugly, it’s a warning sign. Whether it appears in your bathroom, bedroom, or living room, mould indicates excess moisture, poor ventilation, or underlying water damage.
Mould exposure can cause serious health issues, including:
-
Allergies
-
Asthma
-
Breathing difficulties
-
Skin irritation
If you’re a tenant and mould has appeared due to your landlord’s failure to fix structural issues, you may be eligible to start a housing disrepair claim. But first, let’s look at how to remove it properly and safely.
What Causes Mould on Ceilings?
Understanding what’s behind the mould helps you fix the problem permanently. Common causes include:
-
Condensation: Especially in poorly ventilated bathrooms or kitchens
-
Leaking roof or pipework: Water damage that seeps into the ceilings
-
Rising damp: Moisture travelling up from walls into ceiling corners
-
Steam and humidity: Frequent in bathrooms without extractor fans
If the mould keeps returning, the issue is likely structural, and your landlord may be responsible for fixing it.
How to Get Rid of Mould on Ceilings – Step-by-Step
Step 1: Protect Yourself and the Room
Before cleaning:
-
Wear gloves, goggles, and a face mask
-
Open windows for ventilation
-
Cover furniture and floors with plastic sheets
Mould spores can be hazardous—don’t take risks.
Step 2: Choose a Safe Cleaning Solution
Here are your options:
-
White vinegar: A natural antifungal
-
Hydrogen peroxide (3%): Kills spores and sanitises
-
Commercial mould removers: Specifically formulated for ceilings
-
Baking soda and water: A safe option for mild cases
-
Bleach solution: Use only in well-ventilated rooms (1 part bleach to 3 parts water)
Avoid mixing cleaning products, and always test on a small area first.
Step 3: Apply and Let It Soak
-
Use a spray bottle or sponge to apply your solution
-
Let it sit for 15 to 30 minutes to kill the mould
-
Avoid scrubbing immediately, as it may release spores
Step 4: Scrub the Mould Away
Once the solution has soaked in:
-
Use a non-abrasive sponge or cloth
-
Gently scrub until the stain lifts
-
Repeat if necessary for stubborn patches
Step 5: Dry the Area Thoroughly
Use a fan or dehumidifier to dry the ceiling completely. This helps stop mould from returning.
If paint or plaster has been damaged, consider repainting with mould-resistant ceiling paint once the area is fully dry.
What Not to Do
-
Don’t just paint over mould – it will come back
-
Don’t use harsh chemicals in closed rooms
-
Don’t ignore persistent or reappearing mould
For more details on this, read our blog:
Can You Paint Over Mould?
How to Prevent Mould on Ceilings
Prevention is key. Follow these tips:
-
Improve ventilation (install extractor fans)
-
Wipe away condensation daily
-
Fix leaks quickly
-
Use dehumidifiers in problem areas
-
Avoid drying clothes indoors without ventilation
For mould near the bathroom or kitchen sealant, see:
How to Remove Black Mould from Silicone Sealant
When to Take Action as a Tenant
If mould appears because of ongoing disrepair, like a leaking roof or poor insulation, your landlord is responsible.
Under the Homes (Fitness for Human Habitation) Act 2018, tenants have the right to live in a safe, mould-free property.
If your landlord ignores your complaints, you may be able to:
-
Claim compensation for health impacts
-
Recover costs for damaged belongings
-
Get court-ordered repairs completed
Start your damp and mould claim with our expert help—no win, no fee.
Please Note: The solicitor we recommend will charge you a fee of 36% (inclusive of VAT) off your compensation. The solicitor may charge a termination fee if you cancel your agreement with them after the cancellation period, please read their Terms and conditions for more information.
Final Thoughts: Don’t Just Remove It: Fix the Cause
Removing mould from your ceiling is essential, but unless the root cause is addressed, it’ll come back. If you rent your home, don’t let your landlord get away with a “quick fix.”
Take action today:
-
Learn more about your rights on our housing disrepair claims page
-
Keep reading: How to Remove Mould from Walls


